The Beginner-Friendly Process of Creating a Surface Pattern
part 2
Welcome back to The Cute Craft Conversation. I hope that you have found some time to linger in the joyful world of creating.
If you're here, I'm guessing one of two things is happening.
You read the last post and felt that tiny spark of maybe I could actually do this…
Or you're still hovering in the “this looks magical but mildly terrifying” stage.
Either way — you are so welcome here.
Today I want to gently demystify the process of creating a surface pattern. Because once you see what’s actually happening behind the scenes, you realise it’s not some secret design sorcery.
It’s simply a series of small steps, taken one at a time.
So grab your tea (or coffee), get comfy, and let’s walk through it together.
PS : If you missed my last post - you might want to go back and read that because we are picking up from point 3 today (steps 1 and 2 are in the previous post!)
3. The Basic Process (Step-by-Step)
When I first discovered surface pattern design, I imagined designers sitting in beautiful studios doing very complicated things with very expensive software.
And while yes — there are incredibly talented professionals doing exactly that — the heart of the process is surprisingly simple.
Here’s what it really looks like.
Step 1: Gather Inspiration & Build a Moodboard
Inspiration is everywhere. Truly.
Nature. Books. Fabrics. Shop windows. Your child’s drawings. The way the afternoon light hits your kitchen bench.
Start collecting anything that makes you pause for a moment.
Pinterest boards are wonderful for this. So are messy sketchbooks. Or a simple folder on your computer called “Pattern Ideas.” (Highly recommend — mine is complete chaos, but joyful chaos.)
Personally, I’m always drawn to everyday moments — tiny slices of life that feel warm, nostalgic, and full of story. That’s the feeling I want my art to hold. I love to use my everyday life as inspiration…a walk with my dog (See my mini collection - Bluebirds and pink daisies), a feeling that I have (see my cute Morse code patterns) or a special family trip (Tropical Paradise is a big collection that I have been dreaming up and hope to see it in print soonish). I like to think of my patterns as my life’s memoires.
Don’t overthink this stage.
Just gather what sparks joy.
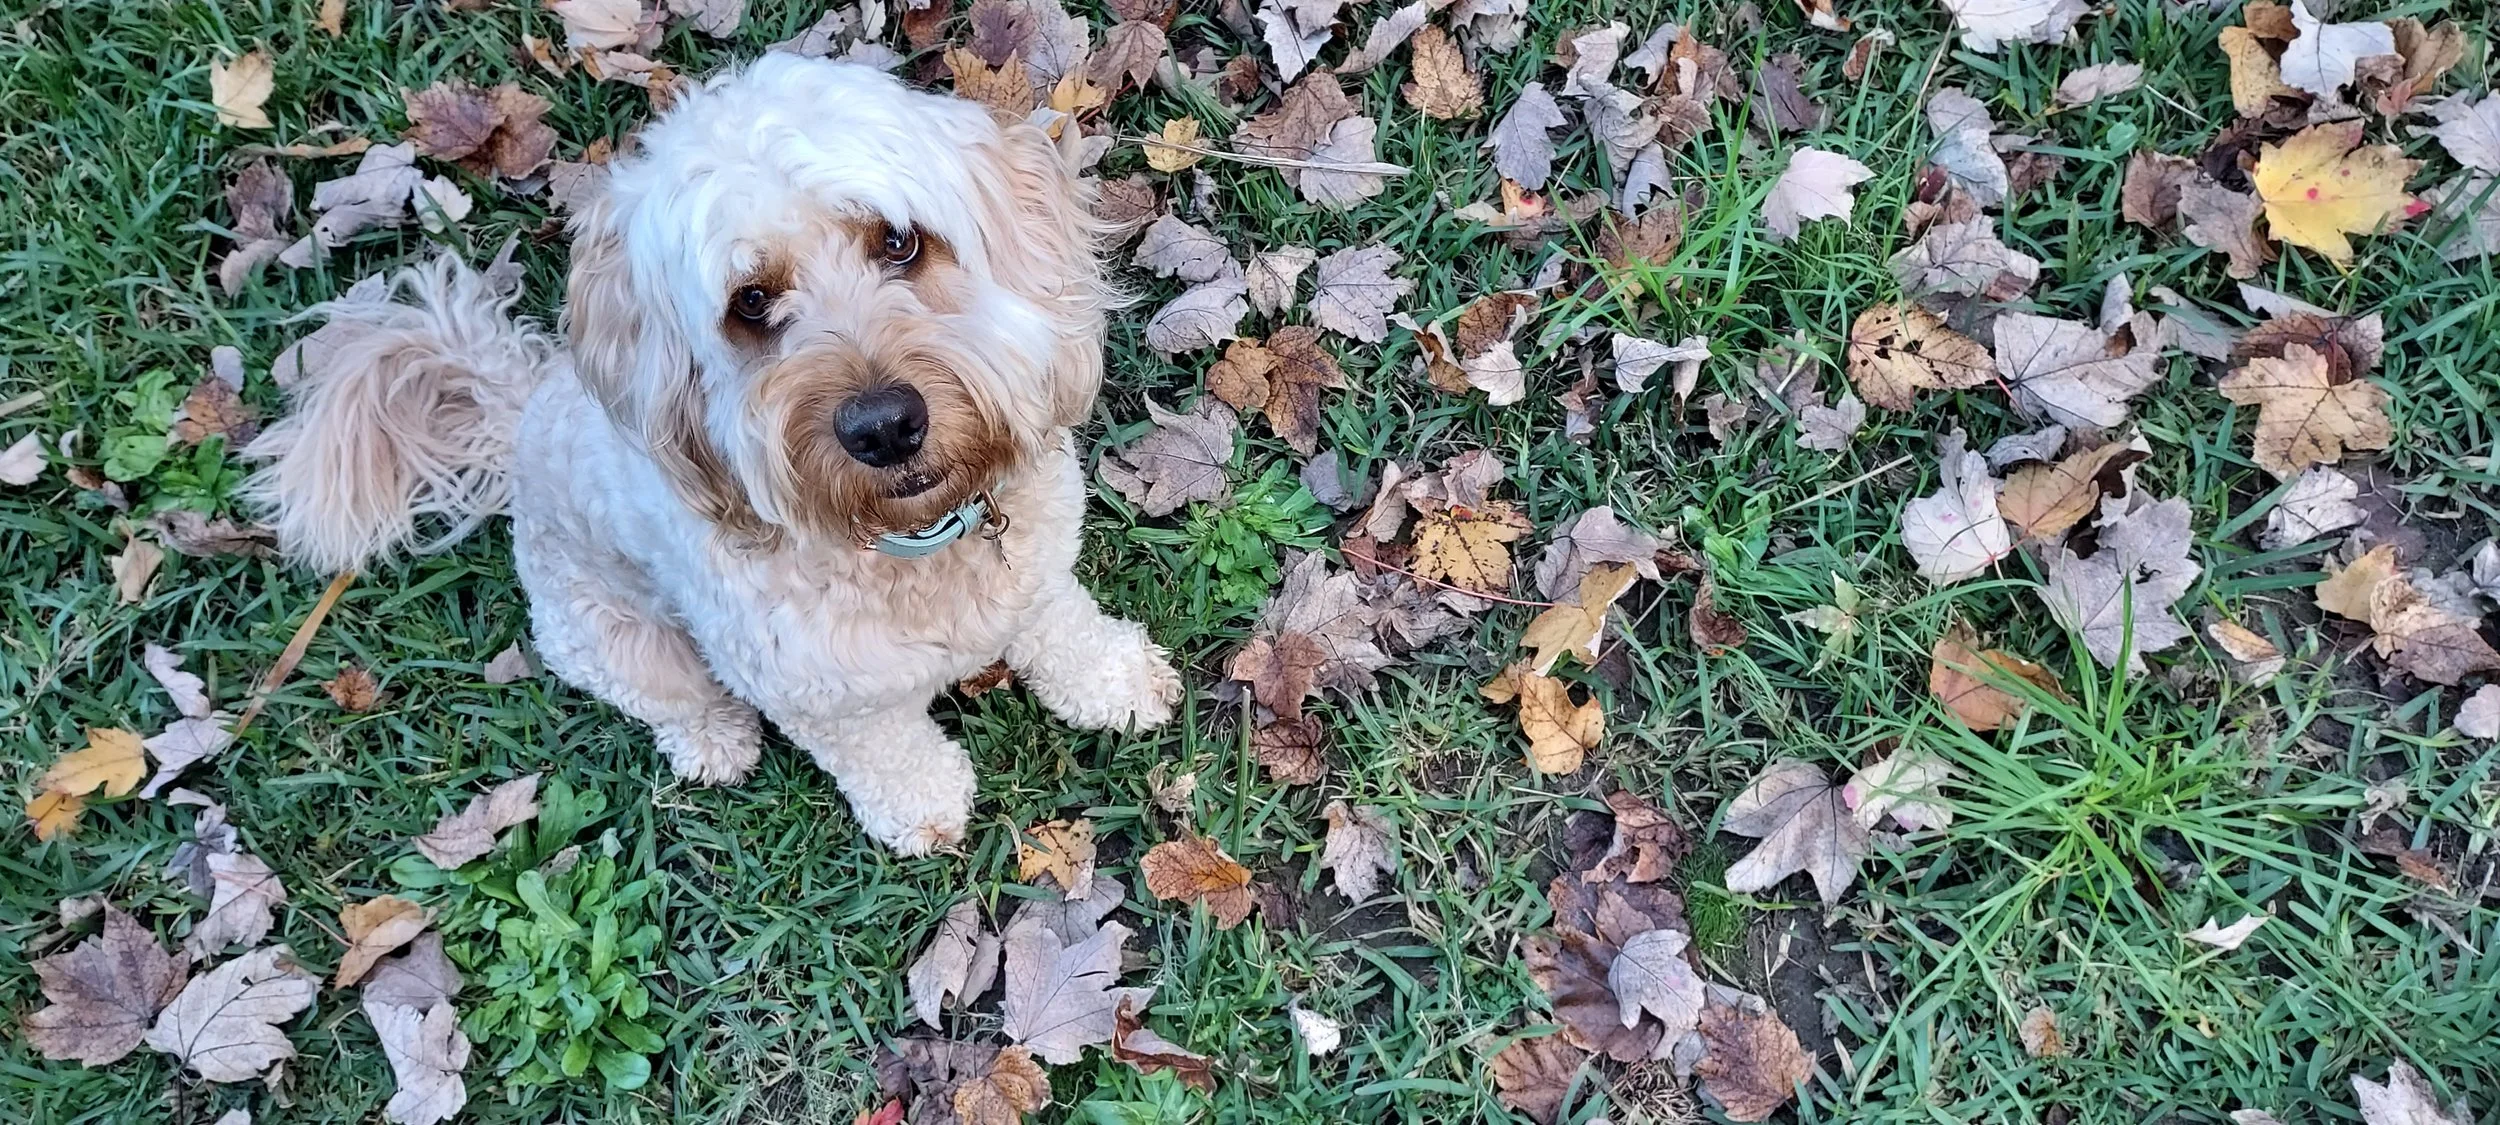
Walks with cute Cody is a great everyday opportunity to be inspired!
Step 2: Sketch Motifs
Now we draw. Or paint. Or gather.
And I need you to hear this clearly: they do not need to be perfect.
Your motifs are simply the little building blocks of your pattern. Think:
• Leaves
• Flowers
• Abstract blobs
• Geometric shapes
• Tiny icons or marks
Keep it simple.
Some of the most beautiful patterns in the world are made from very uncomplicated shapes. You don’t need to draw a hyper-realistic rose. A slightly wonky leaf with a bit of personality? Perfect. Take your cue from nature - it is all beautiful and perfectly imperfect!
This stage is about playing, not performing.
Step 3: Digitise Your Sketches
This part sounds technical, but all it means is turning your artwork into a digital file.
You can do this by:
• Photographing it in natural light - nake sure that your camera is directly above your work.
• Scanning it (300 dpi minimum if you plan to print)
• Drawing directly on an iPad
There’s absolutely no gold star for doing it the “fancy” way.
Use what you have.
Remember what we said in the last post — start simple.
Step 4: Clean & Refine
Now we give the artwork a little tidy. You can do this in Adobe Illustrator, Photoshop, Canva or Photopea (basically any program that you have access to that allows you to clean up your motifs.
This might include:
• Adjusting contrast
• Removing smudges
• Smoothing lines
• Refining shapes
• Vectorising, if that’s part of your workflow
Think of it as giving your artwork a gentle polish — not changing its personality, just helping it shine.
Step 5: Create Your Tile (The Seamless Repeat)
This is the part that once felt mysterious to me.
But here’s the truth: you're simply arranging your motifs inside a square so they repeat seamlessly. For this - I suggest you youtube a video for the program you are using - so that you don’t feel overwhelmed.
That’s it.
You can experiment with different repeat styles like:
• Grid repeats
• Half-drop repeats
• Brick repeats
• Scattered layouts
If you’re new, start with a simple grid repeat. Keep things uncomplicated.
The first time you duplicate your square and watch your pattern repeat beautifully across the screen?
Honestly… it feels like magic.
Step 6: Mockups & Test Prints
This is one of my favourite parts of the process. I bought a few on Etsy but there are plenty of free mockups available.
Because suddenly your pattern isn’t just a file quietly sitting on your laptop.
It becomes:
Wallpaper
Fabric
Wrapping paper
A notebook cover
A cushion
This is where you check:
• Tile alignment
• Scale
• Spacing
• Colour harmony
Mockups help you see what’s working — and what might need adjusting.
And they also give you that exciting little whisper of possibility:
This could actually live out in the world.
Step 7: Export for Use or Licensing
When you're ready to share, print, or potentially license your work, you’ll export it in the appropriate format.
For example:
• JPG or PNG for print-on-demand products
• TIFF or PSD for high-quality printing
• AI or SVG for vector licensing
And just like that…
You’ve created a pattern.
Not because you suddenly became “official,” but because you followed the steps.
4. Common Beginner Mistakes (We All Make Them)
Let’s save ourselves a bit of frustration with a few common pitfalls.
1. Edges Don’t Match
Fix: Always test your tile by duplicating it before you finish.
2. Overcrowding
Fix: Leave breathing room. White space is your friend.
3. Ignoring Scale
Fix: Test your pattern on mockups. Something that looks delicate on screen can become overwhelming when enlarged.
4. Colour Chaos
Fix: Start with a small palette of 3–5 colours. It instantly creates harmony.
5. Lack of Variation
Fix: Include large, medium, and small elements to keep the design dynamic.
Tiny tweaks — big difference.
5. A Sweet & Simple Mini Project
Alright, my lovely creative friend.
Let’s put everything into practice with something beautifully manageable.
Your Mini Project: Create a 3-Motif Repeat
You’ll create a repeating pattern using only three motifs:
• One leaf
• One simple geometric shape
• One tiny accent (a dot, heart, star, dash — your choice)
That’s it.
Three motifs. See my Morse code design - simply dots and dashes! No overwhelm!
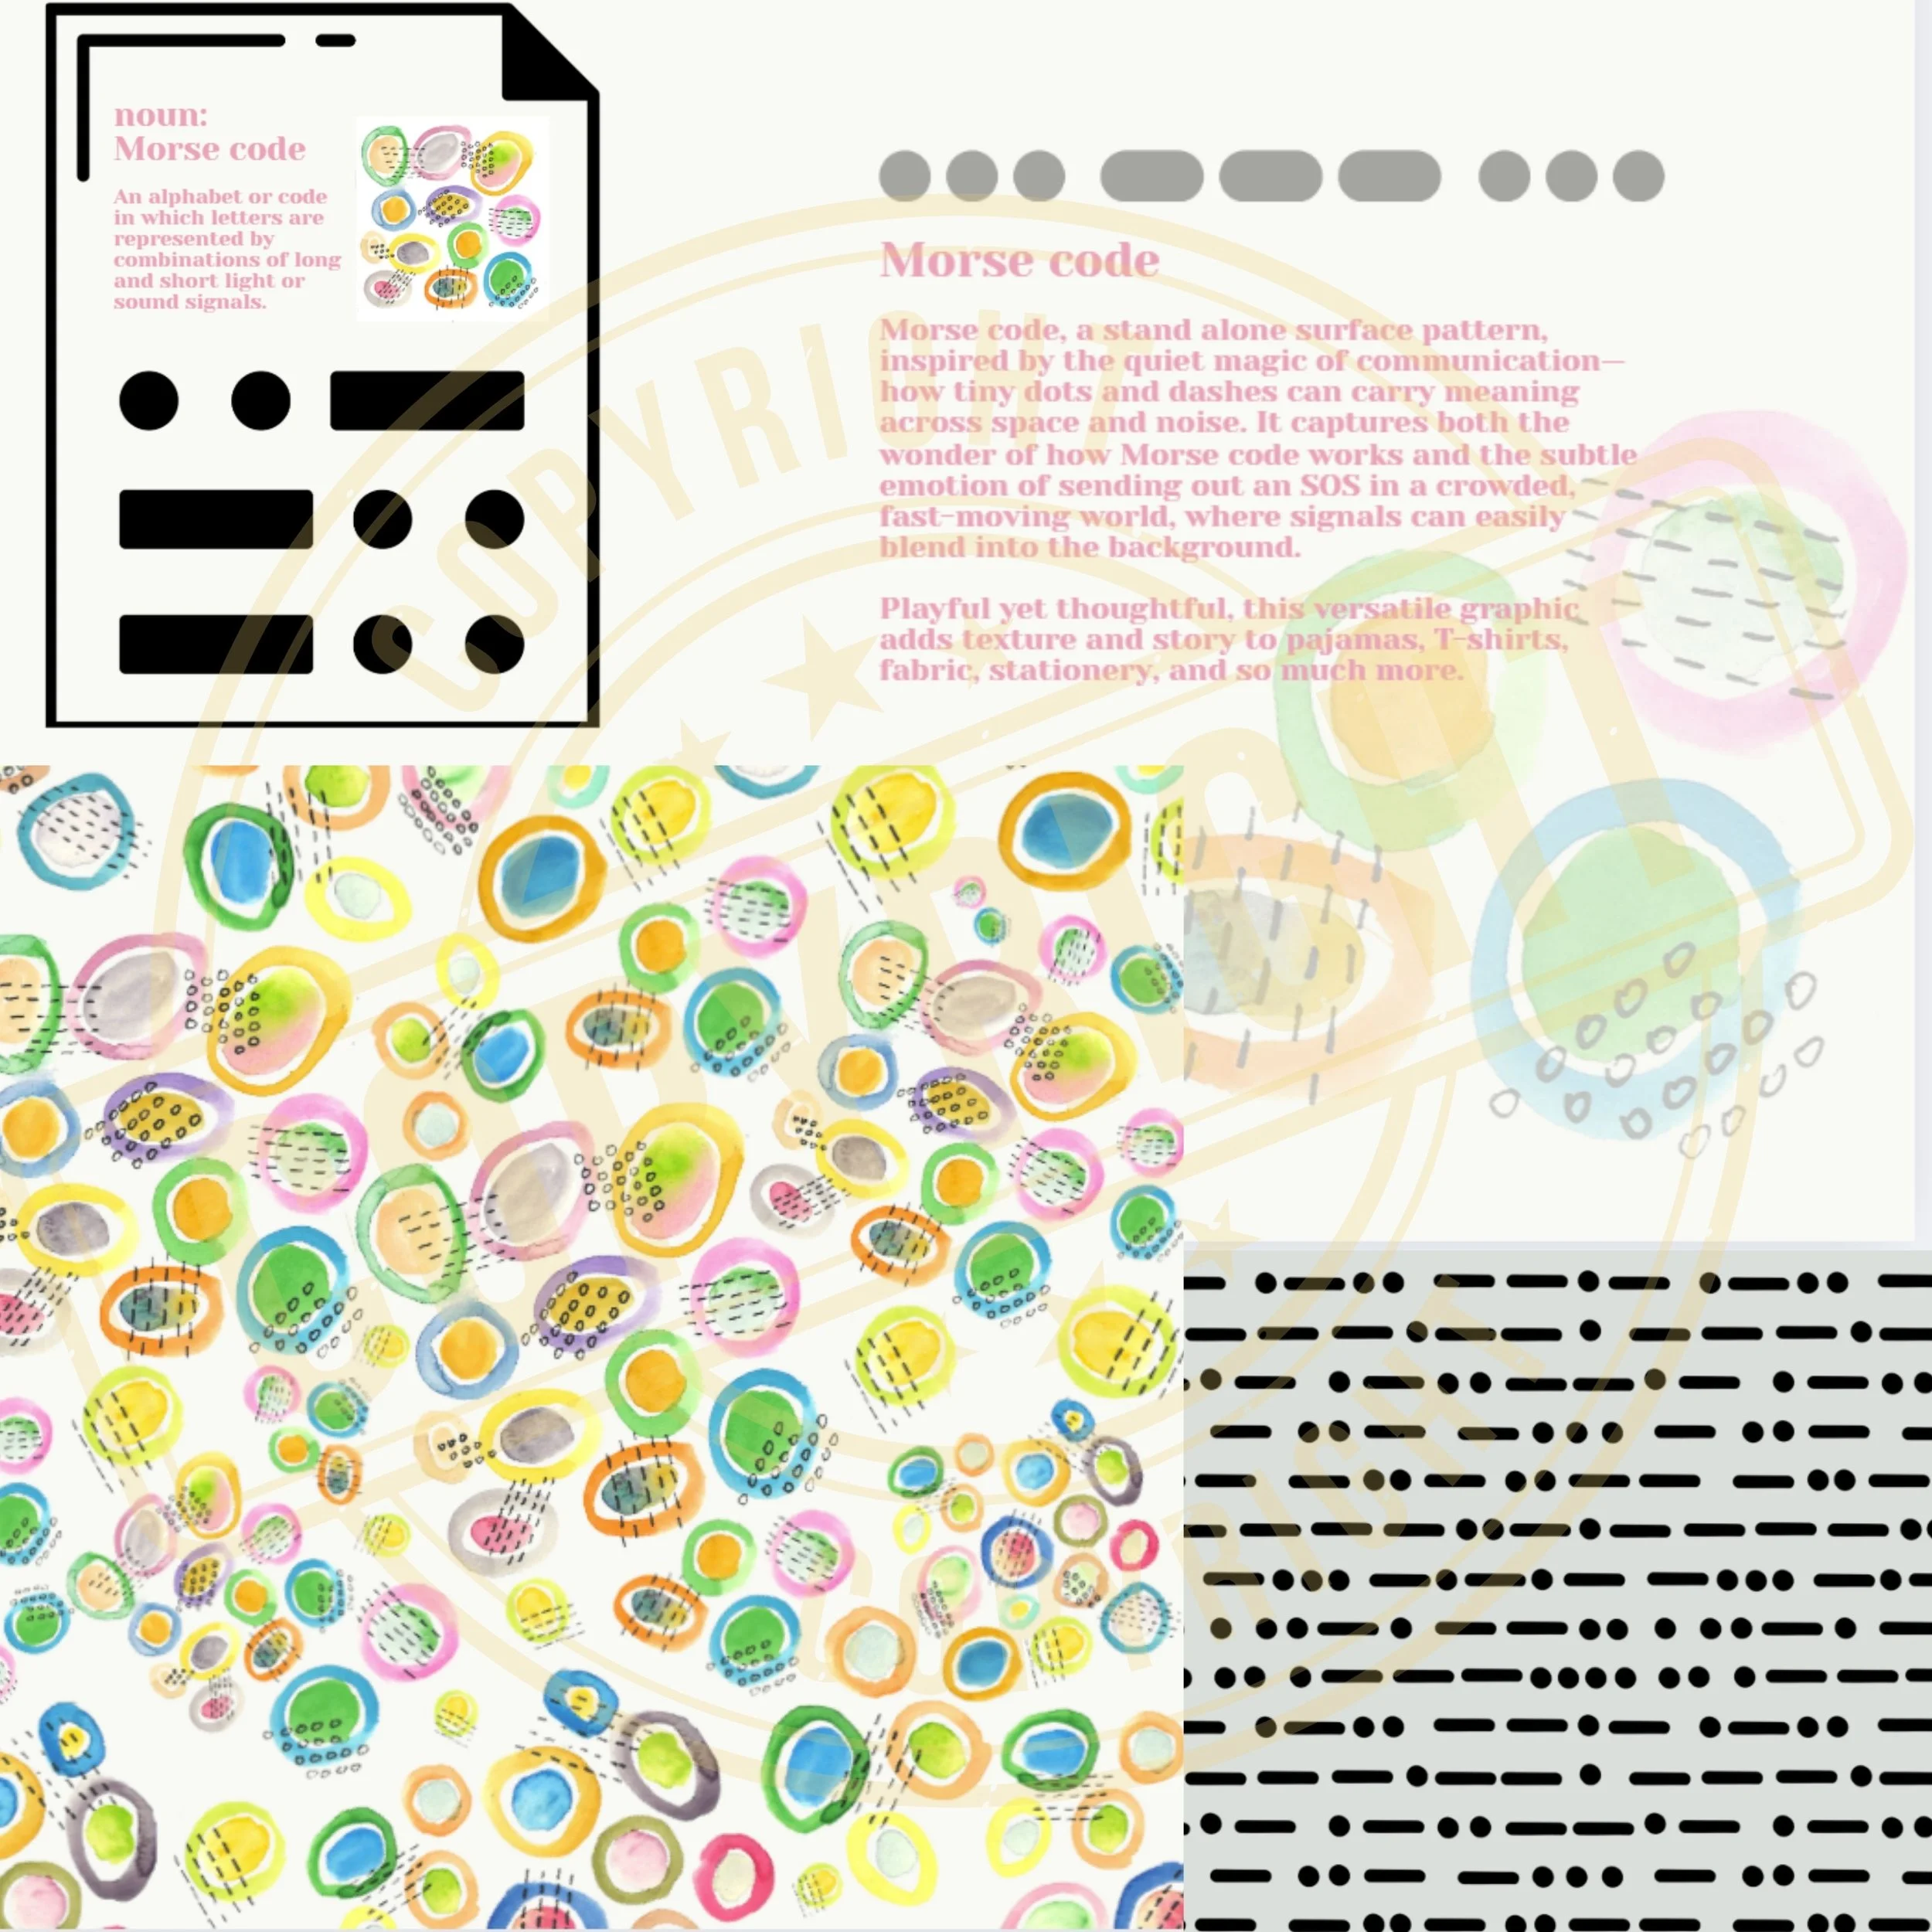
My mini collection: Morse code
Step 1: Sketch Your Motifs
Keep them playful and simple.
Step 2: Digitise Them
Photograph, scan, or draw digitally.
Step 3: Clean & Refine
Give them a gentle tidy.
Step 4: Arrange Into a Simple Repeat
Start with a basic grid layout.
Step 5: Test Your Tile
Duplicate it and check the edges.
Step 6: Apply to a Mockup
Try it on a notebook, cushion, wrapping paper — anything that makes you smile.
And then… share it with me.
I would genuinely love to cheer you on.
To get really good at this - the key is practise practise practise. The more you create patterns the more it will become second nature to you. And then something magical happens - you see your style, your voice, your unique take on things emerge and that is your uniquely special style. Yes, it may be similar to someone else, but it will definitely not be the SAME. It will be yours - your own unique creation!
Conclusion: You Don’t Need Perfect Tools — You Just Need to Begin
Surface pattern design can feel intimidating from the outside.
But once you peek behind the curtain, you realise it’s simply a series of small, manageable steps.
You don’t need art school.
You don’t need expensive software.
And you definitely don’t need to feel like a “proper designer” before you begin.
You just need to start.
Sketch a leaf.
Pick up a pencil.
Open a blank canvas.
Play.
Every day when I walk into my little girl’s room and see the beautiful floral wallpaper I chose for her, a small voice in my heart whispers:
Someday, it will be your art on those walls.
That tiny voice is what keeps me learning, experimenting, and carving out time to keep creating.
My dream is to see my art living on the everyday objects we use and love — your mug, your tea towel, your dress, maybe even your walls.
And who knows?
Maybe one day yours will be there too.
If you'd like to keep following along on this creative journey, don’t forget to sign up for my emails so you never miss the next post in The Cute Craft Conversation.
And if you try the mini project — please share your pattern with me. @TheCuteCraftCompany
I’d truly love to see what you create!!
PS : When it feels hard - the key to success is to push through - keep showing up…keep trying! Remember, Just like a beautifully manicured garden takes time and consistent effort - your journey will take time too!

I love beautiful gardens…mine is a constant work in progress. This one looks like a dream!